I don't really know why I seem to only be able to finish projects when they're simple objects like this, but here's a shipping container I made for myself a little while back. Never ended up making a proper post about it. This was one little project that taught me a lot of things.

The Modeling
Originally this was made as a replacement model for another shipping container I had made previously. That original model was much less detailed, and honestly much less shipping-container-y.
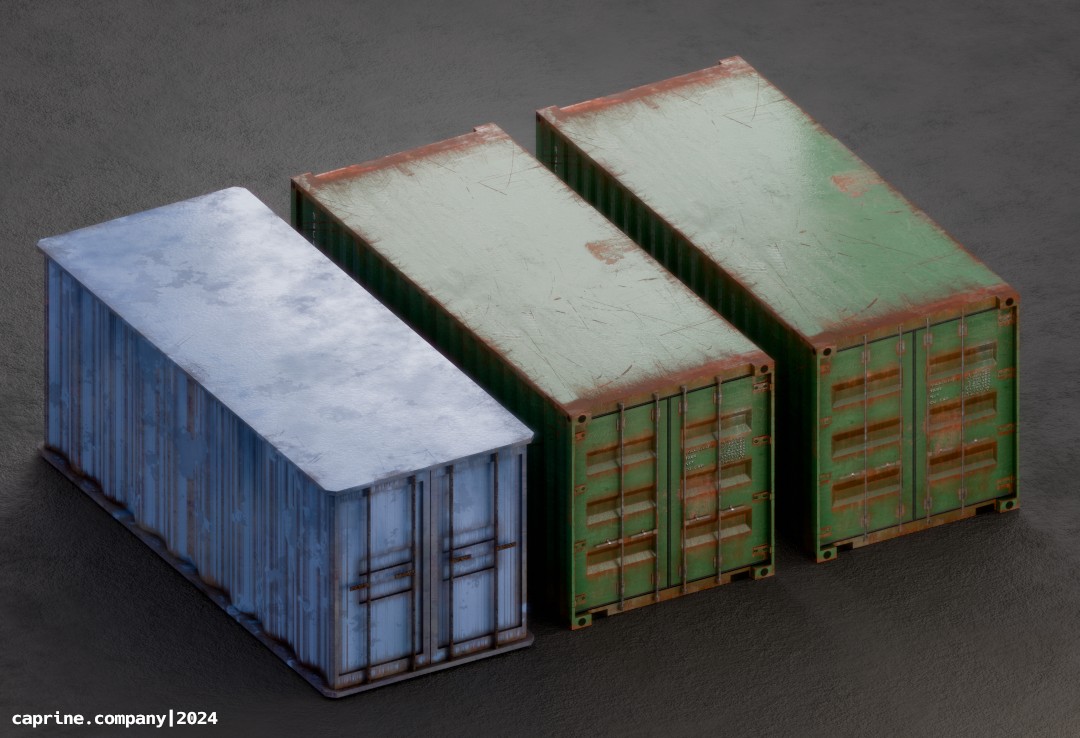
The left-most container is the original model. It was made hastily with no reference images, so it doesn't look very true to any container I've seen in real life. The original has 1060 triangles total, while the updated full res model is 2544 triangles. That is 2.5x as many triangles, but I feel that was worth it, especially for the project this model was intended for originally. If I need to really save on tris, I can bake it all down to a much more simple model like this one here.
I haven't experimented with this yet, but I'm pretty sure you can bake light and shadow into the model too, which would let you just bake it all to an elongated cube that has the shadows baked in.

There's a few tricks I did to save on tris where I could. The biggest saving is probably from not connecting the corrugated side panels with the rest of the top and bottom of the model. This avoids needing to make a bunch more triangles on the top and bottom surfaces. The other place I got my savings was from just removing the faces from parts you can't see of course. Probably won't get you the most savings, but it all starts to add up when you're making a ton of copies of the object.
Texturing
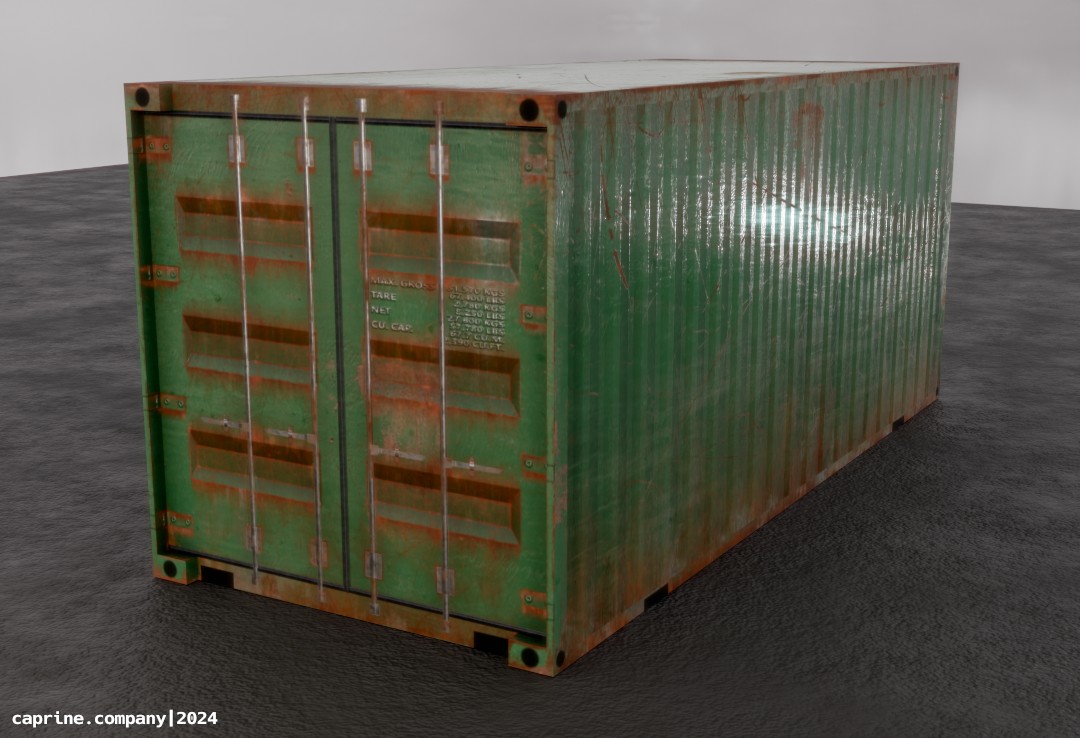
I don't recall if I had planned this to become a full on test of different texturing techniques from the start, but that's where it ended up. I used a whole handful of texturing methods and sources to make this model, and it was definitely a good learning experience. The main green texture came from a set of real images that I took outside. I used Darktable and Krita to do the photo correction and then stiching process to make it tiling. After doing the base texture processing, I brought it into Blender to turn them into a set of PBR textures.
After that I had something I could use as a tiled texture for whatever program I might need it for. I tried doing some stenciling in Blender's texture painter, but it just really wasn't going well for me at the time. So I decided to break out ArmorPaint, which had just been sitting in my apps list for months at that point. While I haven't given ArmorPaint a test fully, it did get the job done for this project at least. I'll give my proper thoughts on it in a later post I'm sure. But this was a little crash course in really starting to understand the interface and whatnot.
Using ArmorPaint I just added a few material layers and masks and then went ham with a scratch stencil that I made. The rusty metal texture beneath my custom texture was from ambientCG. I also ended up just using that on the handle and latch pieces. The stickers and labels were also made by me, although I ended up making them pop out too much on the normal map. Those were also applied with the stencil tool.
Then I baked it down to a 4K texture set for the container, after a UV unwrap of course. Thankfully that was dead simple thanks to it just being a box with some extra features.
I hadn't learned about what the bevel node was intended for yet, so I didn't know I was able to soften up the edges. If I were to redo this I would definitely include a bevel on the edges of the container.
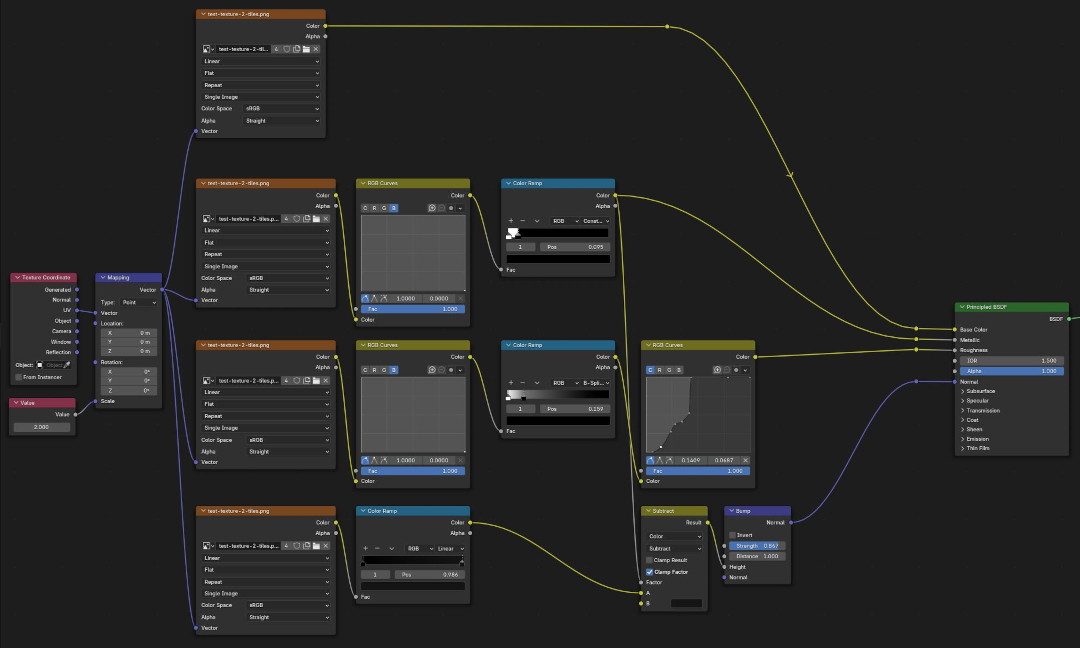
As for the original model's textures, the main body was done with procedural textures and the custom scratch texture I made. The metal on the handles is the same one as before. They're not horrible, it was just something quick I made up in the moment from another project.
I've already used the new model a handful of times in other projects. It's cool to have your own asset library to build up over time.
End
This post took longer than I expected to get together, but I suppose I misunderstood the amount I want to blab about random things. At this point I'm not sure if this reads well or not. It's mostly all info that can be found out elsewhere. Maybe it's better to focus my thoughts inward and do whatever makes me feel the best. Some posts might be long like this one, but other pieces of proper art might have little or no commentary. Well either way, I'm sure I'll figure something out. I put a lot of work into this so far; no point quitting this early.
Thanks for reading, and have a great day wherever you are.